
Overview
The Arduino biometric safe box is a DIY security project that uses a fingerprint sensor (R307 Datasheet) to securely lock and unlock a storage compartment. Designed for makers and electronics enthusiasts, this biometric safe combines Arduino control with LED indicators and servo motor locking for maximum security.
The system can store up to 127 fingerprints and unlocks with a servo motor when an authorized fingerprint is detected.
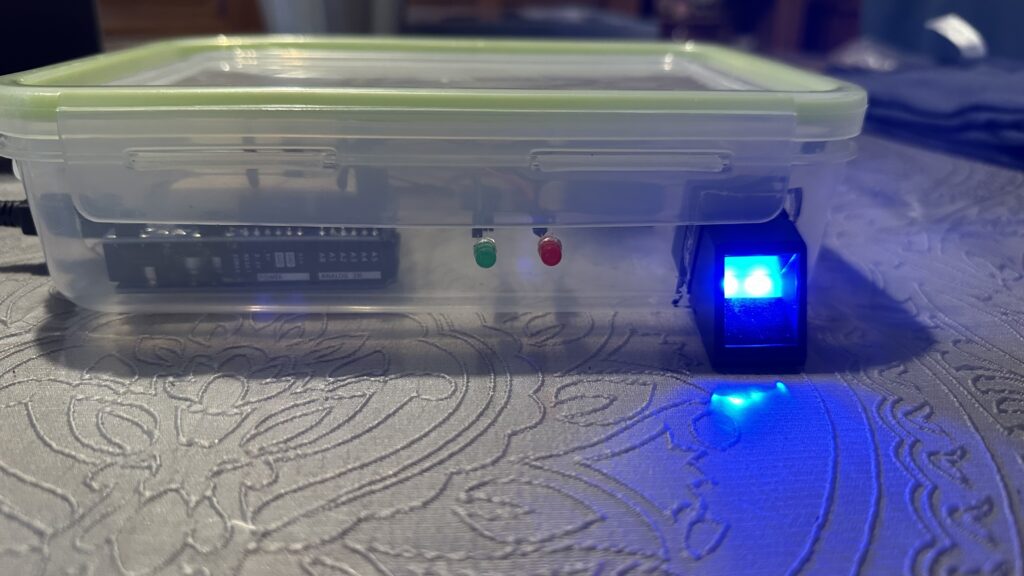
- Registered fingerprint → Servo motor unlocks + green LED blinks.
- Unrecognized fingerprint → Safe remains locked + red LED blinks.
This offers stronger security than traditional keys or numeric codes.
The safe can run on a standard USB power source or a 5 V battery for a fully autonomous, cable-free setup.
Project Versions
- Version 1: Quick prototype in a Tupperware box — ideal for testing wiring, code, and sensor response.
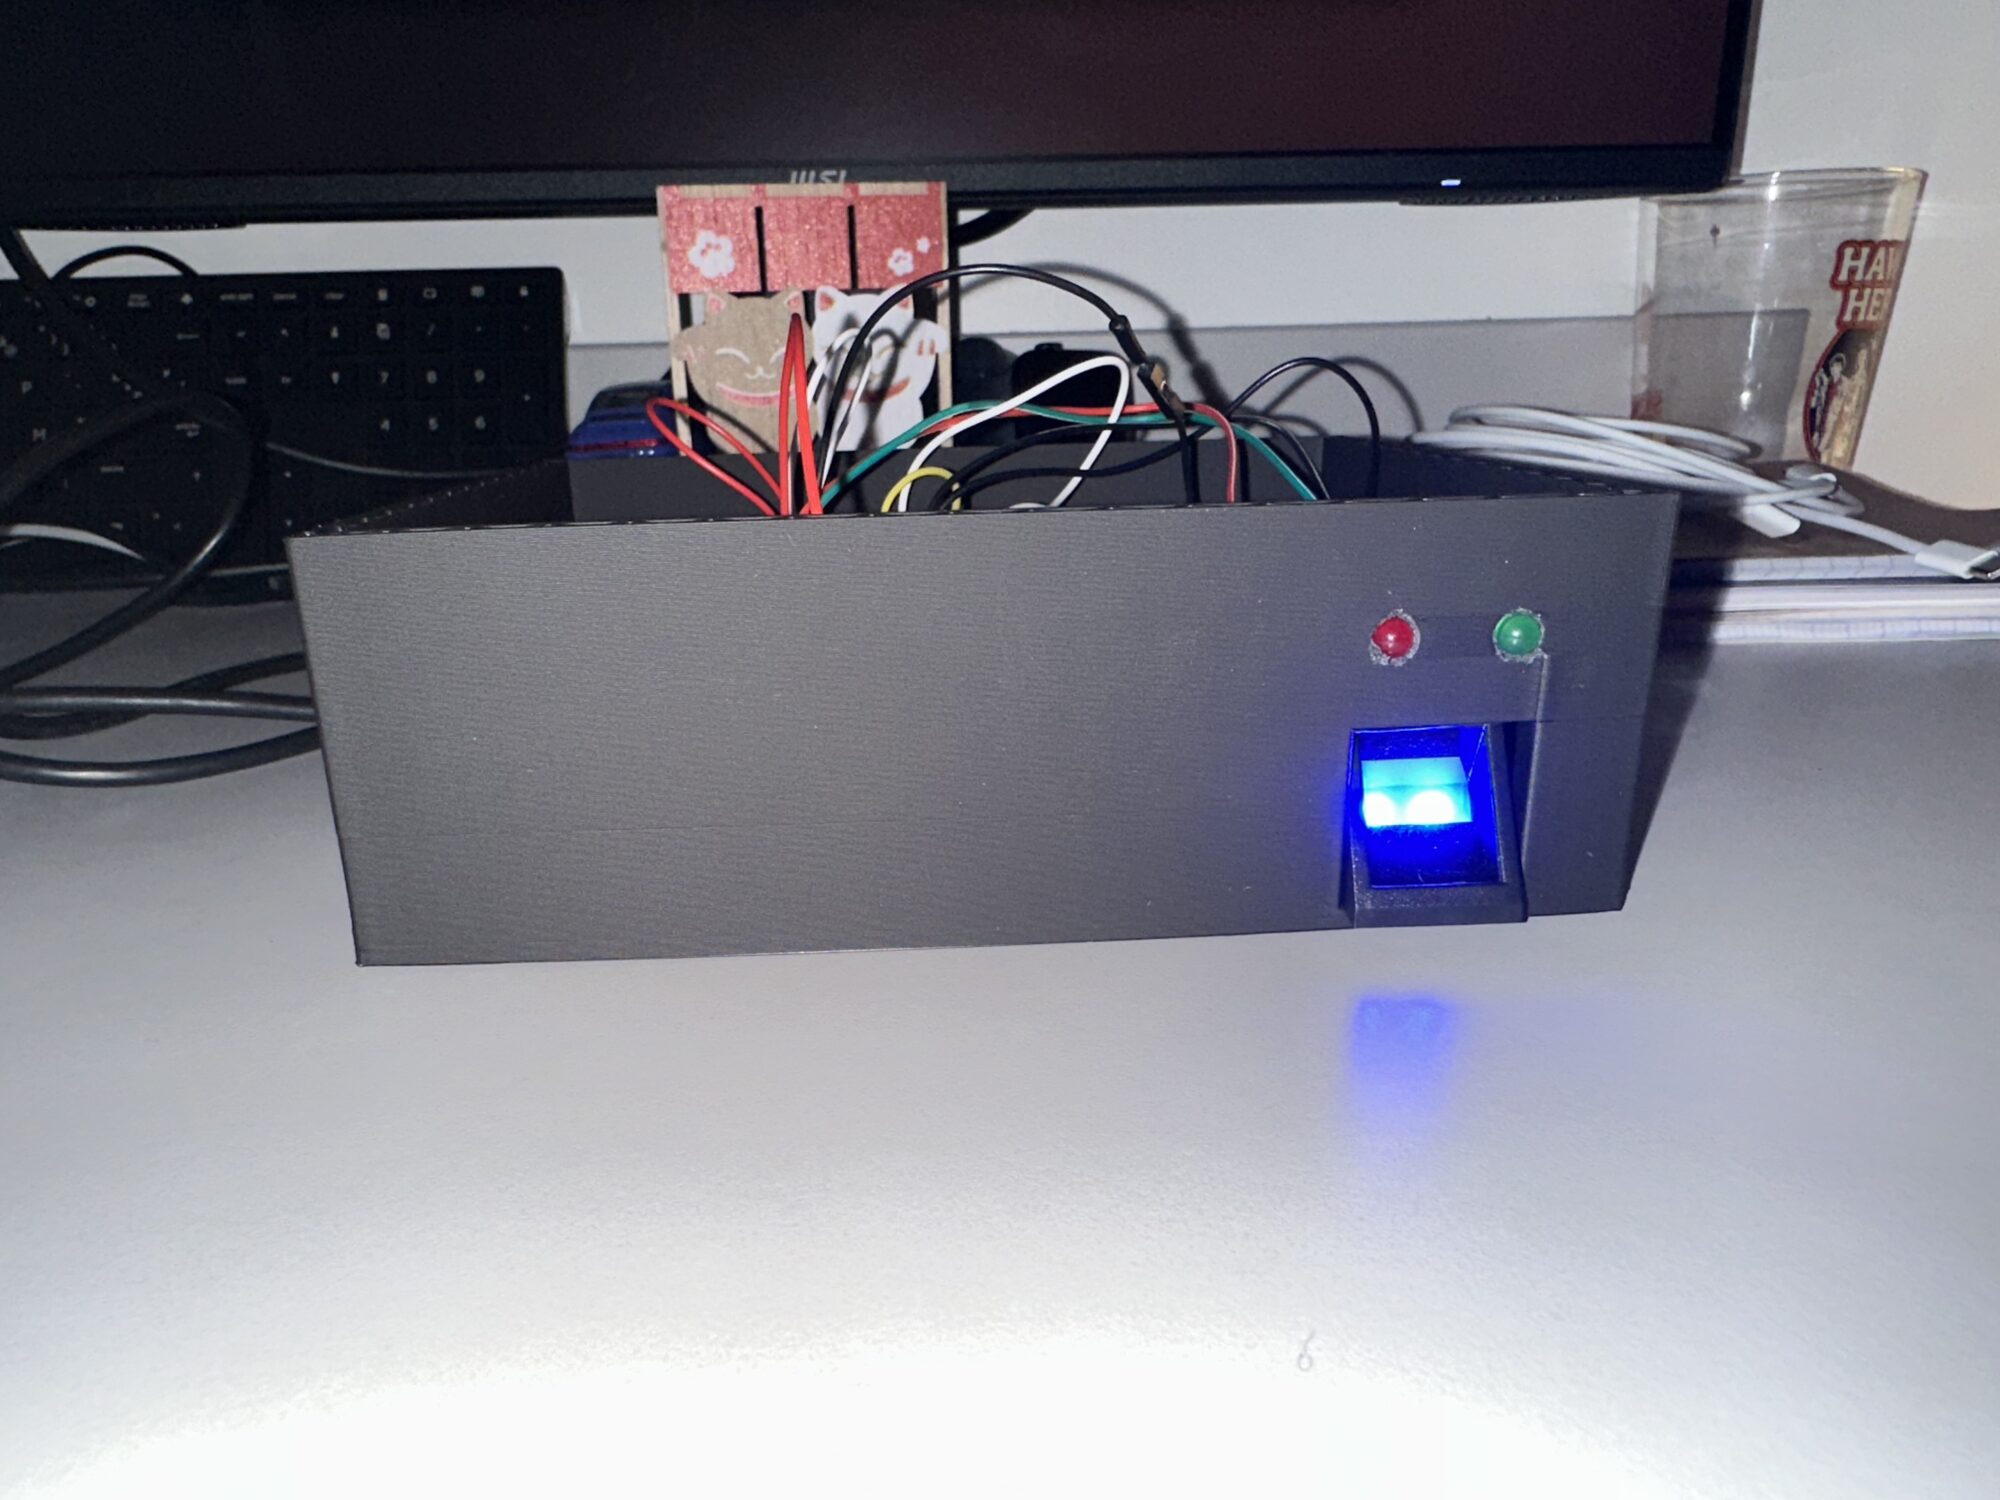
- Version 2: 3D-printed PLA case — more durable and visually appealing.
- Version 3 (Final): Metal enclosure — maximum security and physical resistance.
This evolution shows how a simple prototype can grow into a professional-grade secure system.
1. Prototype Build – Safe Box in Tupperware
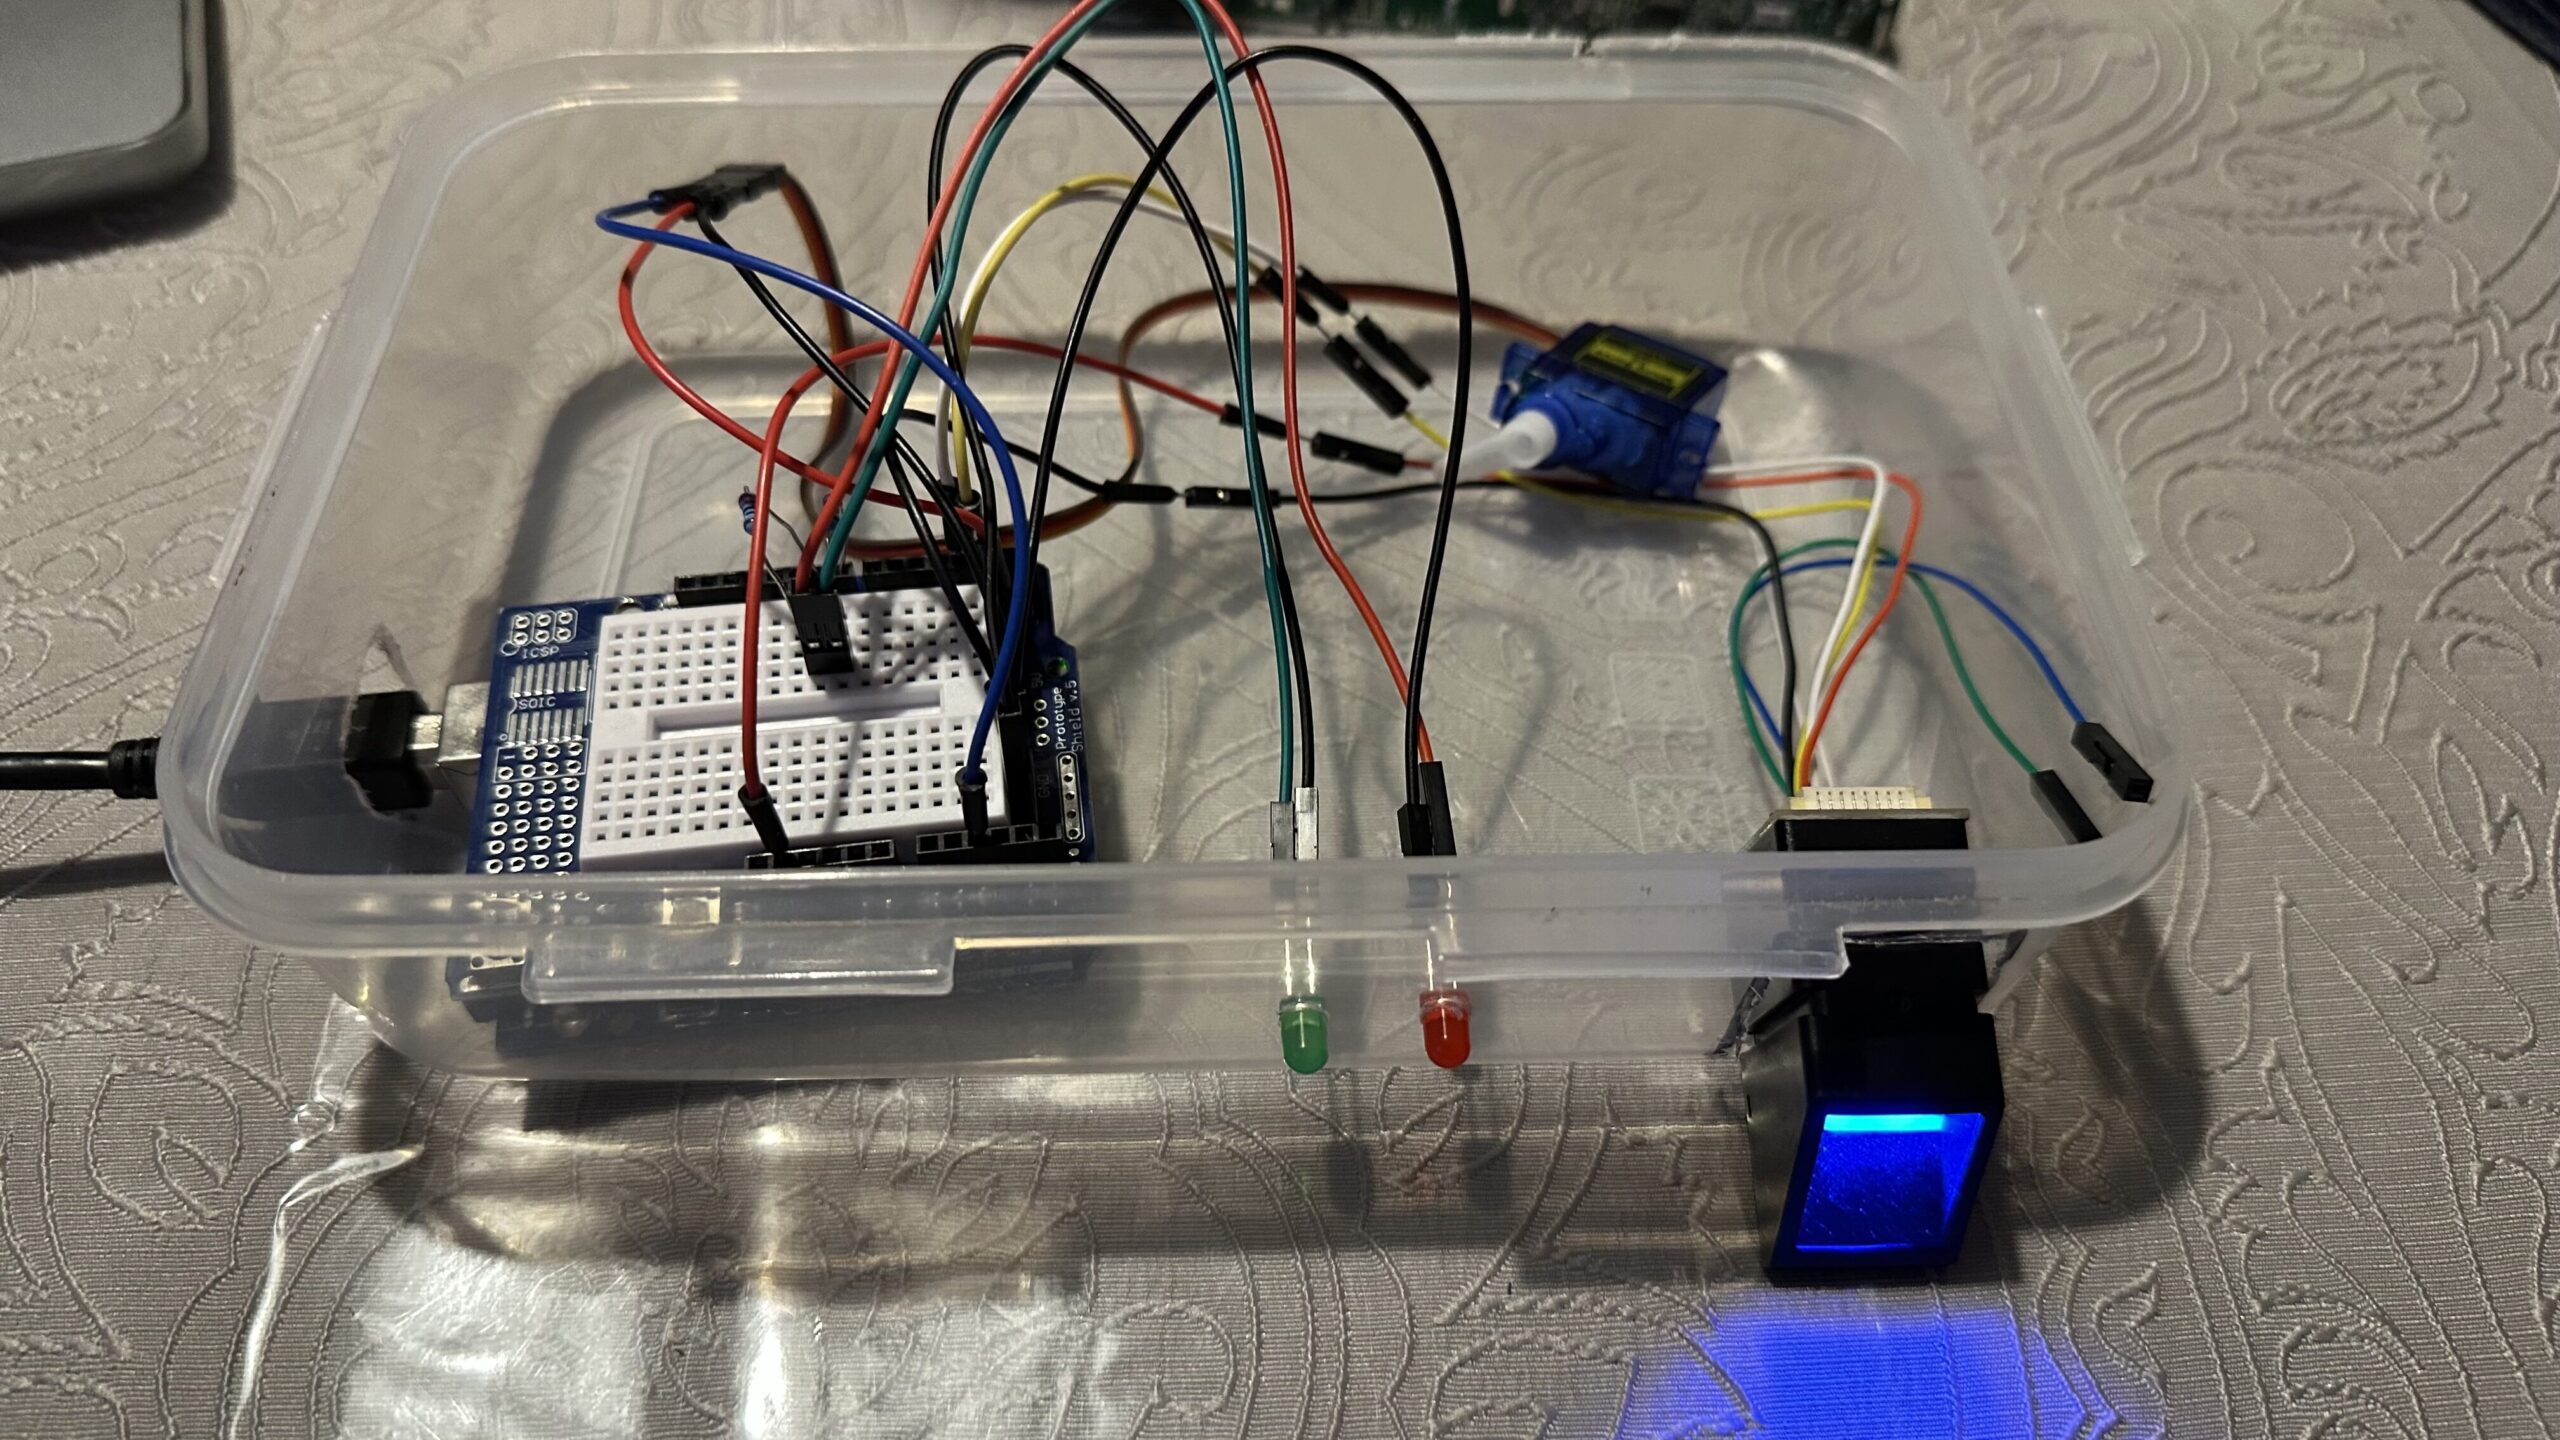
For the prototype, milling cuts were made in the Tupperware to install:
- 2 LEDs (green and red)
- The R307 fingerprint sensor
- Arduino UNO’s power input
While not the most durable material, Tupperware is perfect for proof of concept before switching to 3D printing or metal fabrication.
1. Components Required
- Arduino UNO (or ESP32 for more advanced use)
- 2× 220 Ω resistors (for LEDs)
- 1× R307 fingerprint sensor (affordable, widely available)
- 1× Servo motor
- 2× LEDs (green for access granted, red for access denied)
- Jumper wires
- (Optional) 5 V battery for portable and autonomous operation
2. Arduino Code & Libraries
Libraries used:
Adafruit_Fingerprint (enroll and recognize fingerprints) Servo (control servo movement and opening angle SoftwareSerial (handle communication between arduino and modules)
Setup Steps:
- Enroll fingerprints:
- Install Adafruit_Fingerprint library
- Open File → Examples → Adafruit_Fingerprint → Enroll
- Follow the on-screen steps to associate each fingerprint with an ID number
- Upload main code:
- Start the program
- Test the safe — it’s ready to use!
#include <Adafruit_Fingerprint.h>
#include <Servo.h>
#include <SoftwareSerial.h>
// POUR CONFIGURER UNE NOUVELLE EMPREINTE FAIRE UN ENROLL AVEC LE N° CORRESPONDANT
// Capteur d'empreinte via SoftwareSerial
SoftwareSerial fingerSerial(2, 3); // RX, TX
Adafruit_Fingerprint finger(&fingerSerial);

// Servo
Servo monServo;

// LEDs
const int ledVerte = 8;
const int ledRouge = 9;

// Servo positions
const int posFermee = 0;
const int posOuverte = 90;

// ON THE TOP EVERY DATA AND CONFIGURATION

void setup() {
  Serial.begin(9600);
  finger.begin(57600);
  delay(5);

// SERIAL MONITOR
  if (finger.verifyPassword()) {
    Serial.println("Capteur OK !");
  } else {
    Serial.println("Erreur capteur !");
    while (1);
  }

  monServo.attach(A2);
  monServo.write(posFermee);

  pinMode(ledVerte, OUTPUT);
  pinMode(ledRouge, OUTPUT);
  digitalWrite(ledVerte, LOW);
  digitalWrite(ledRouge, LOW);
}

void loop() {
  // Attend qu’un doigt soit posé
  if (finger.getImage() != FINGERPRINT_OK) return;

  // Convertit image en template
  if (finger.image2Tz() != FINGERPRINT_OK) return;

  // Cherche correspondance
  if (finger.fingerSearch() == FINGERPRINT_OK) {
    Serial.println("Empreinte reconnue !");
    digitalWrite(ledVerte, HIGH);
    digitalWrite(ledRouge, LOW);
    monServo.write(posOuverte);
    delay(3000);
    monServo.write(posFermee);
    digitalWrite(ledVerte, LOW);
  } else {
    Serial.println("Empreinte inconnue.");
    digitalWrite(ledRouge, HIGH);
    delay(2000);
    digitalWrite(ledRouge, LOW);
  }

  // Attend que le doigt soit retiré avant de recommencer
  while (finger.getImage() != FINGERPRINT_NOFINGER) {
    delay(100);
  }
}
1. Prototype Build – Safe Box Printed
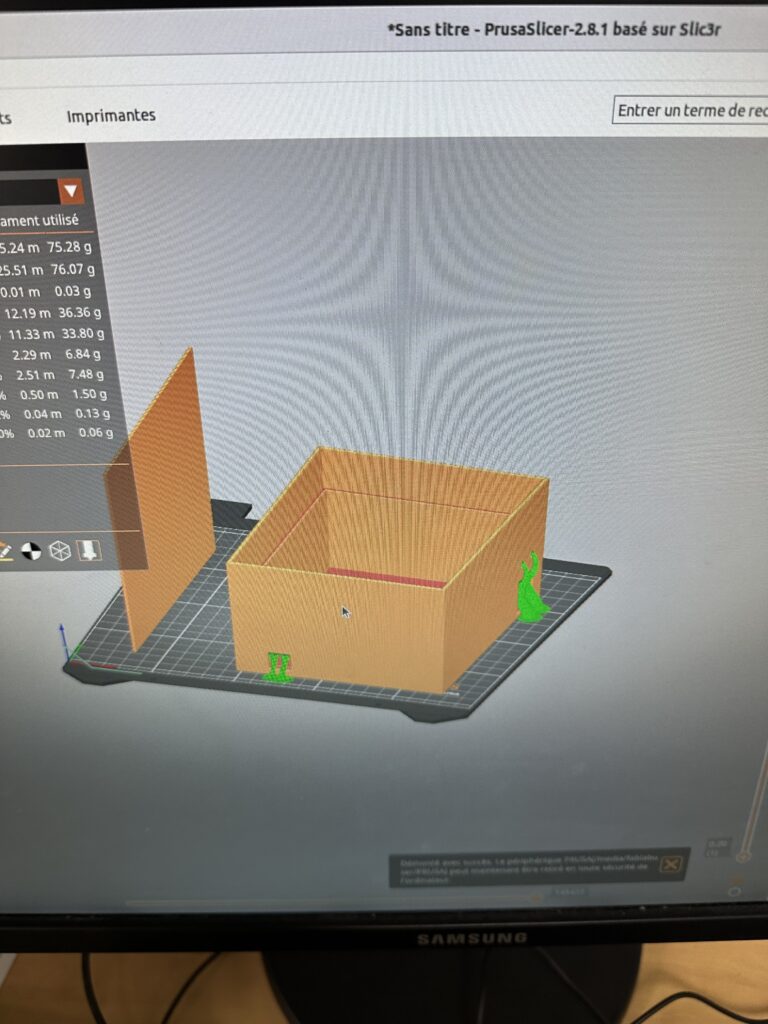
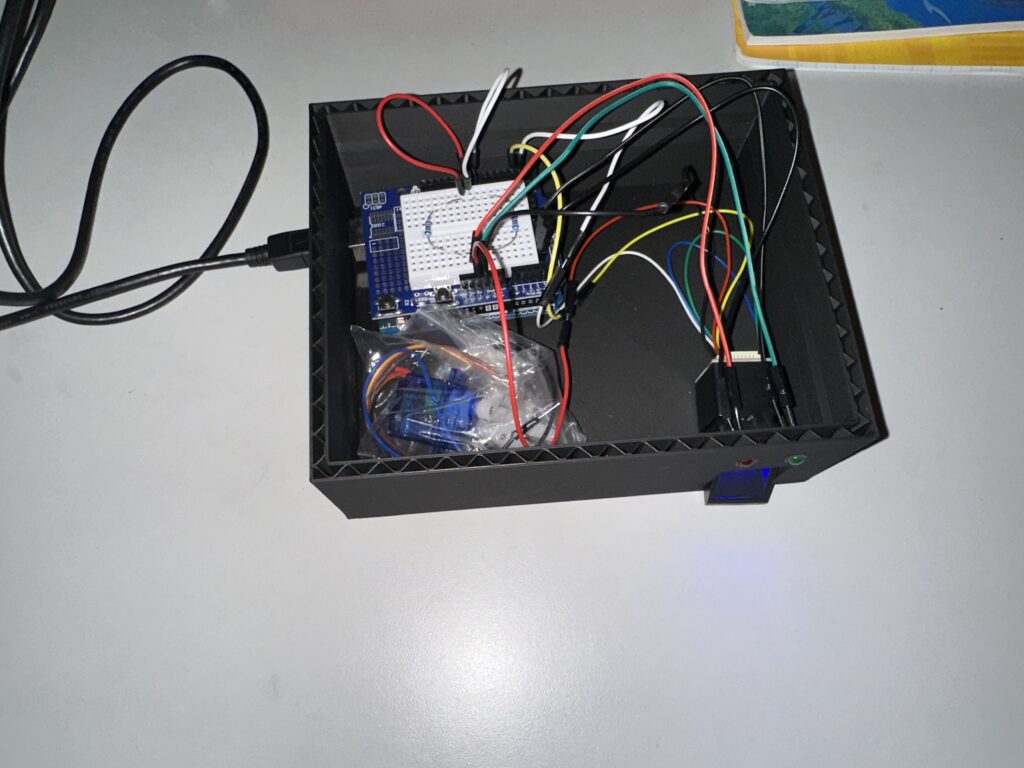
I designed the case model using Autodesk SolidWorks, with a lot of help from my brother. I decided to make a kind of box with a false ceiling so that I could put the components underneath. All that’s left to do now is work on the lid with the hinge and servomotor.
For printing, I printed it at the Sorbonne Fablab. I chose to print it in PLA because it is the most standard and it was robust enough in terms of quality and print fineness for my project.
Why This Project Stands Out
Portable: Battery-powered option for cable-free operation
Practical: Uses biometric authentication for enhanced security
Affordable: Components are inexpensive and easy to find
Scalable: Prototype in Tupperware → PLA 3D print → Metal final build