
This Arduino joystick servo LED control demonstrates how to use analog inputs and LEDs for real-time feedback.
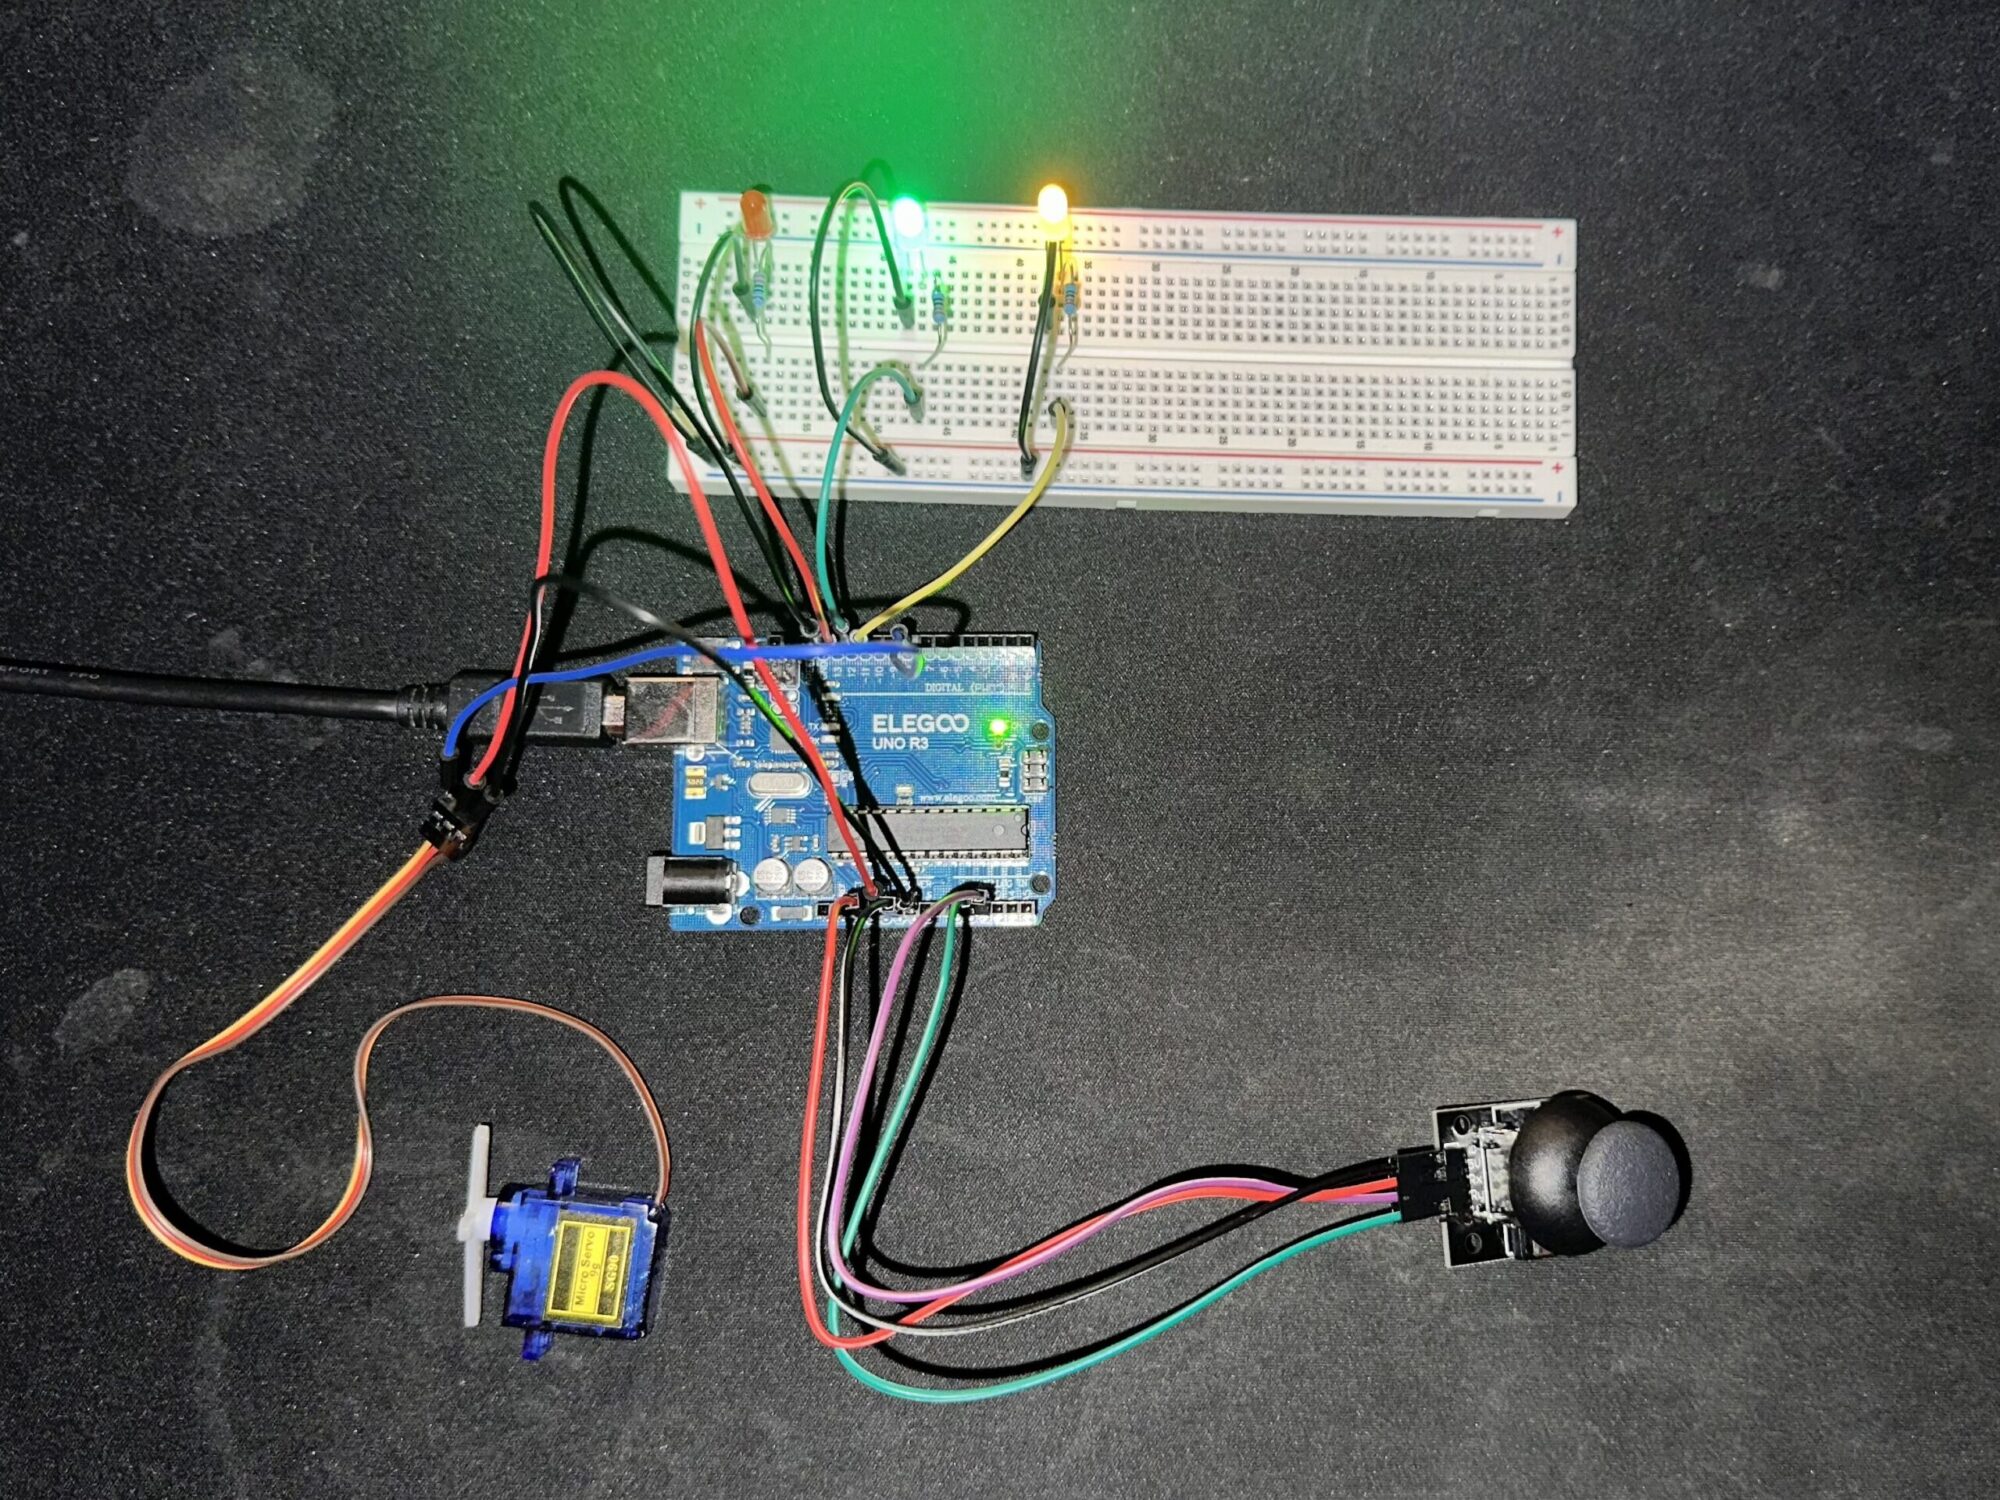
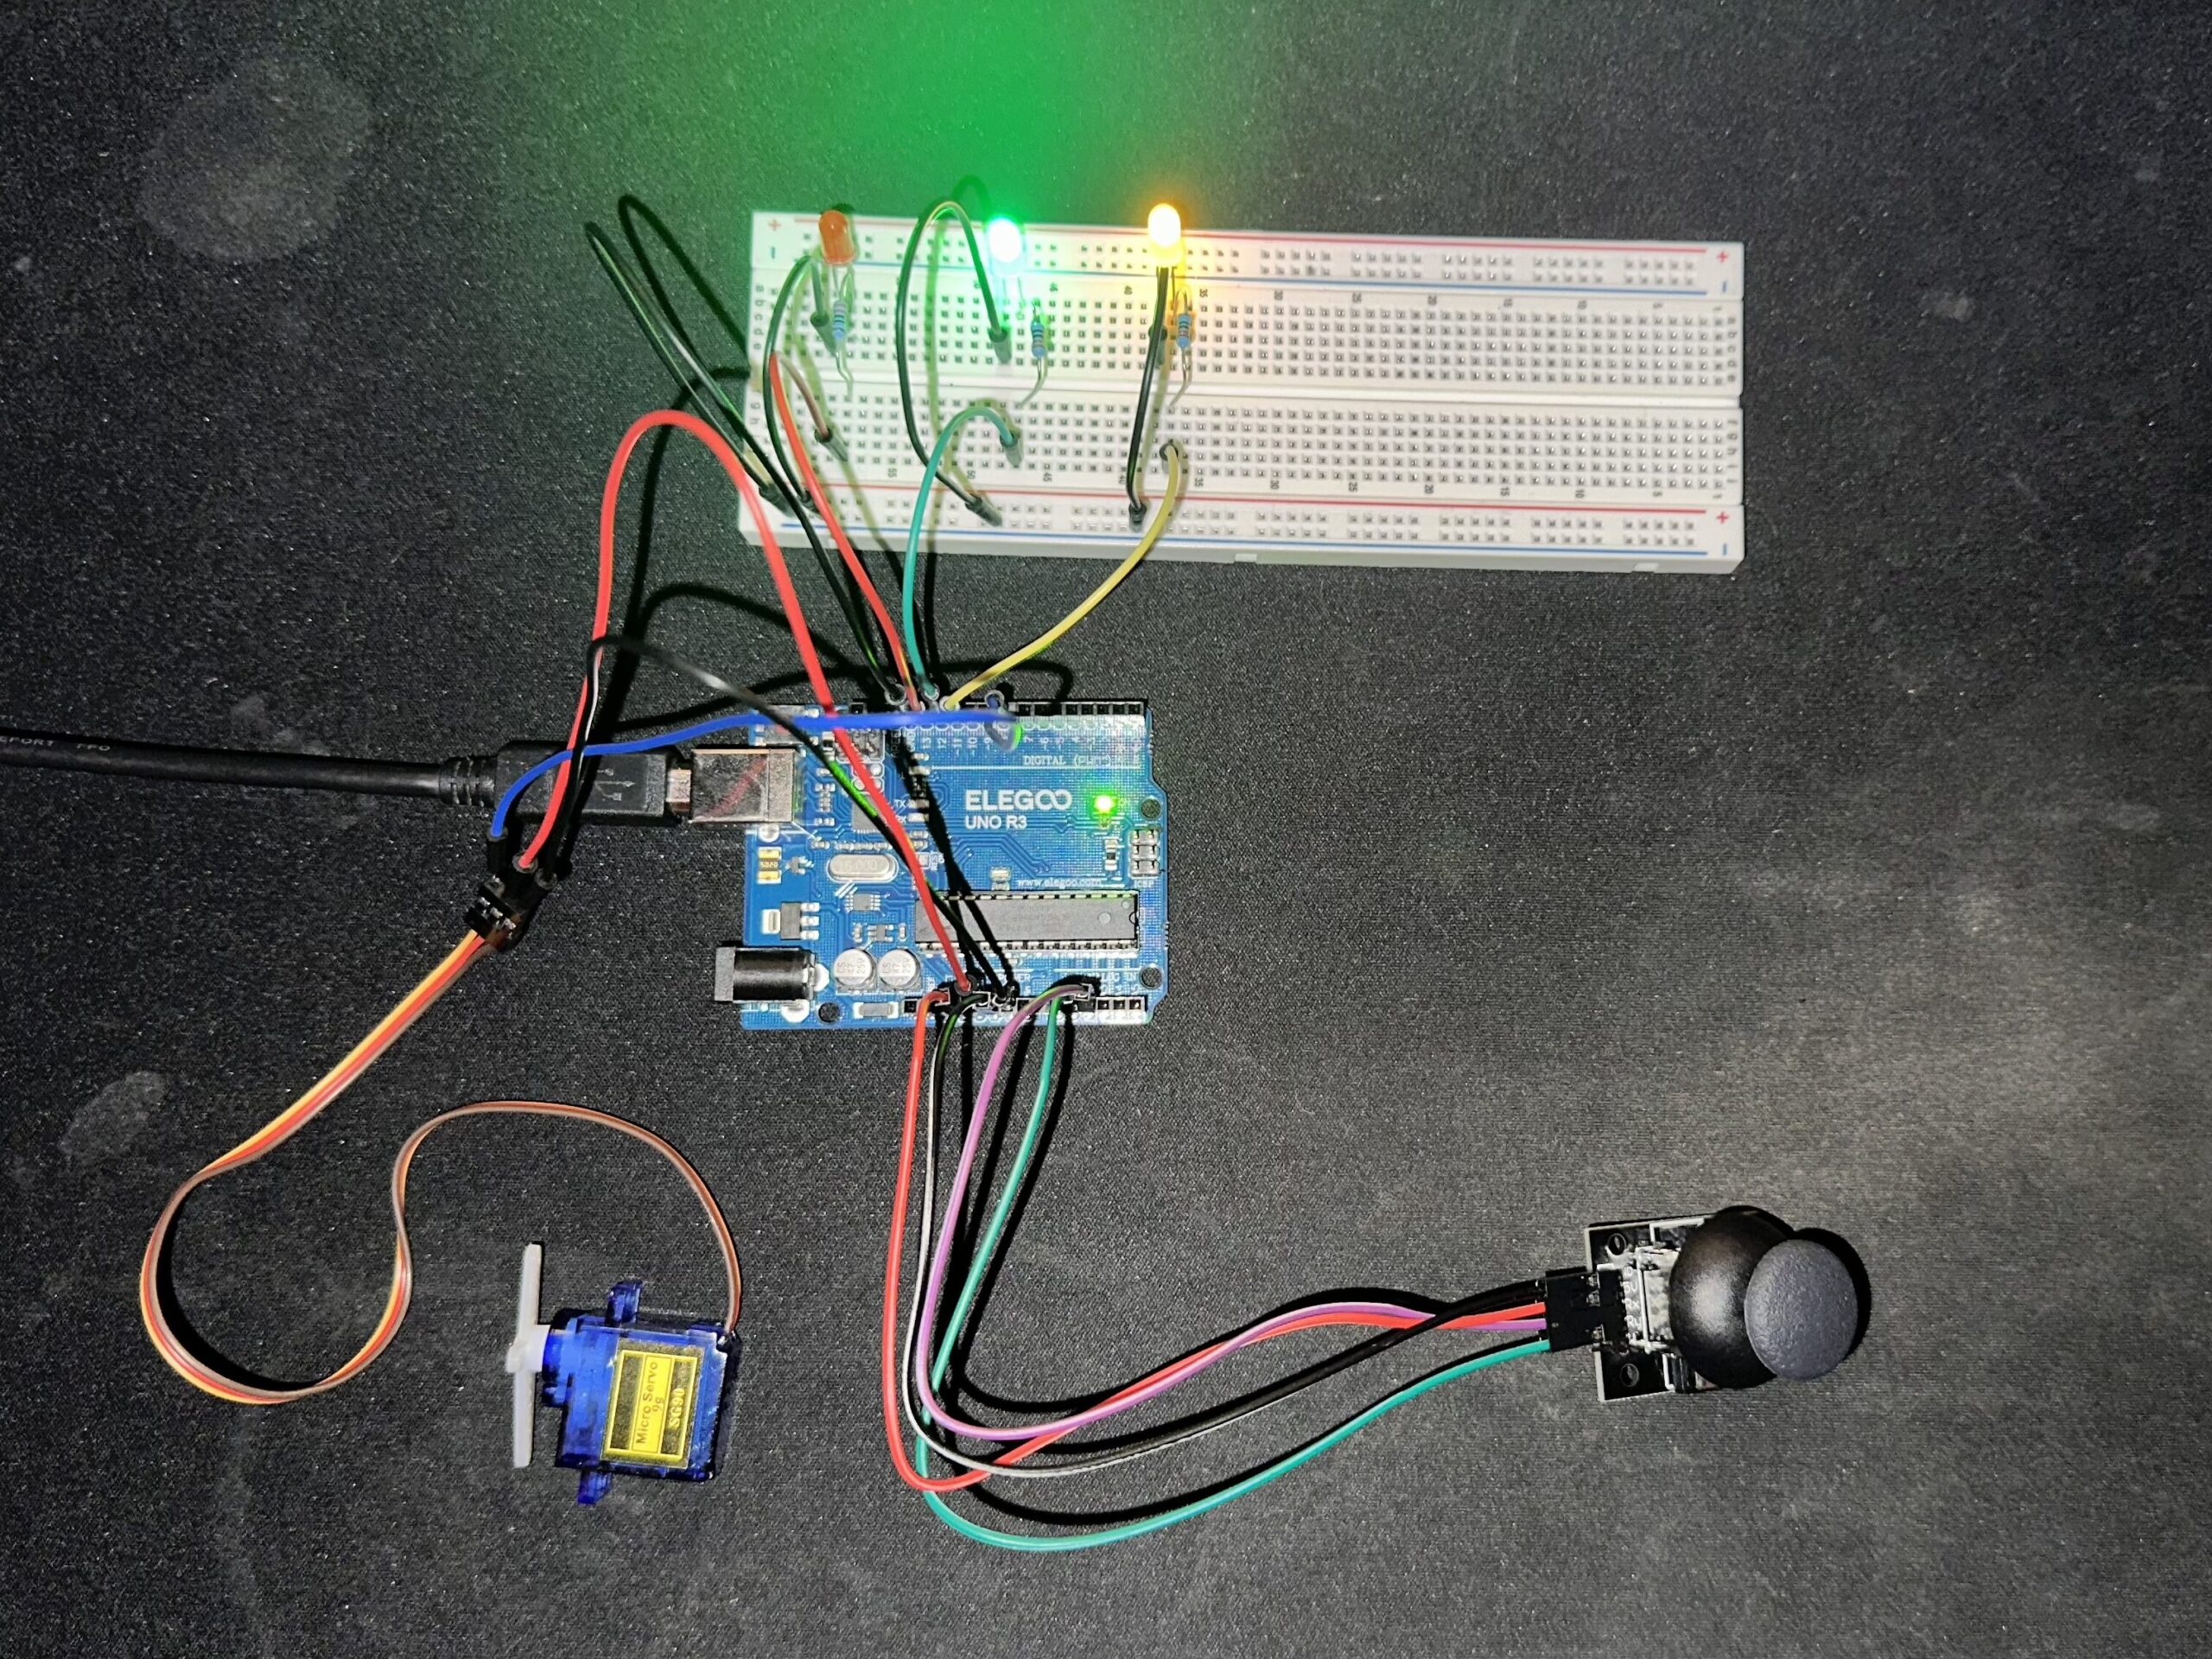
📸 Photos
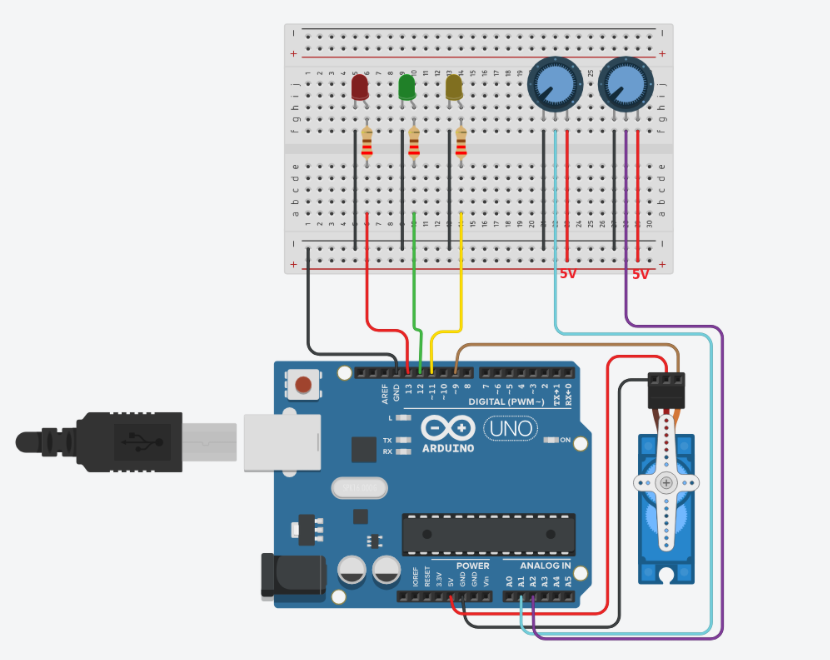
They haven’t joystick in Tinkercad, so I’ve added 2 potentiometers for illustrating the schema, but It’s the same, (VRx → A1, VRy → A2)
Objective:
This project aims to control various analog and digital inputs/outputs through an actuator (the joystick), with visual feedback provided by a set of LEDs.
It demonstrates how to interpret analog signals to control a servo motor and reflect system states in real time.
The LED system complements this interaction:
🔴 Red: indicates that the servo is idle
🟢 Green: blinks when the servo is moving (X axis)
🟡 Yellow: blinks only when the joystick is moved along the Y axis
Components used:
- 1x Arduino UNO
- 3x Led (different colors)
- 1x Joystick (or 2x Potentiometers)
- 1x SG90 servo motor
- 3x 220Ω Resistors
- Jumper wires, breadboard
- 1x Screwdriver for screw of the servomotor
How it works:
- The X-axis potentiometer (simulating VRx) controls the servo position via analog input on A2.
- When the position changes, the green LED blinks and the red LED turns off.
- When there’s no movement, the red LED stays on, and the green LED stays off.
- The Y-axis potentiometer (simulating VRy, connected to A1) is monitored separately. If movement is detected, the yellow LED blinks during activity.
Code and setup:
- The servo_led_joysticks
.inofile is fully commented and easy to follow. - Uses analog input from a joystick (VRx → A1, VRy → A2) to control logic and servo position.
- A standard
Servolibrary is used for smooth motor control. - Visual feedback is handled using 3 LEDs (idle, servo movement, and Y-axis activity).
- Movement detection uses analog thresholds and angle comparison logic.
- External power supply is recommended for the servo to avoid instability !!
What I learned
- How to use analog inputs to control both logic and actuators.
- The importance of dead zones when working with joysticks.
- How to implement real-time feedback through visual indicators.
- How to simulate unavailable components (like a joystick) effectively.
💾 Download the Arduino sketch → servo_led_joystick.ino
You can also check out my other Arduino project using a PIR sensor →Motion-Activated Stopwatch with HC-SR501 and 5641AS 4-Digit Display